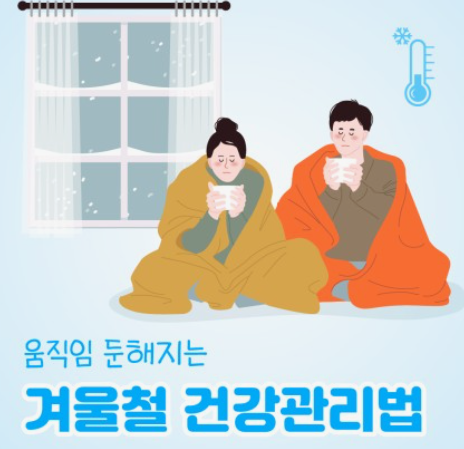
30대를 위한 건강 관리 비법: 건강한 라이프스타일로의 여정
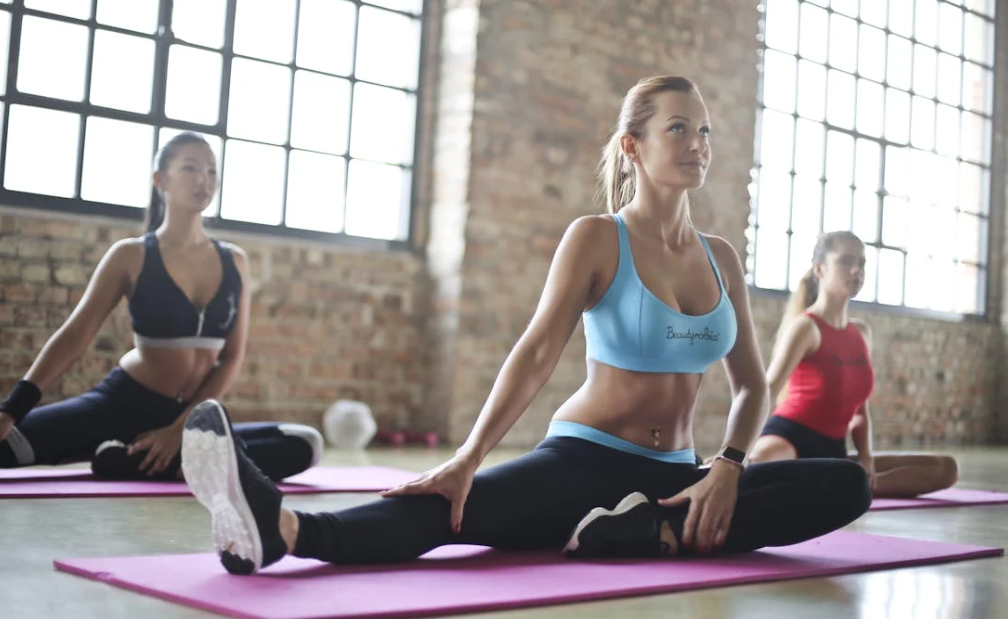
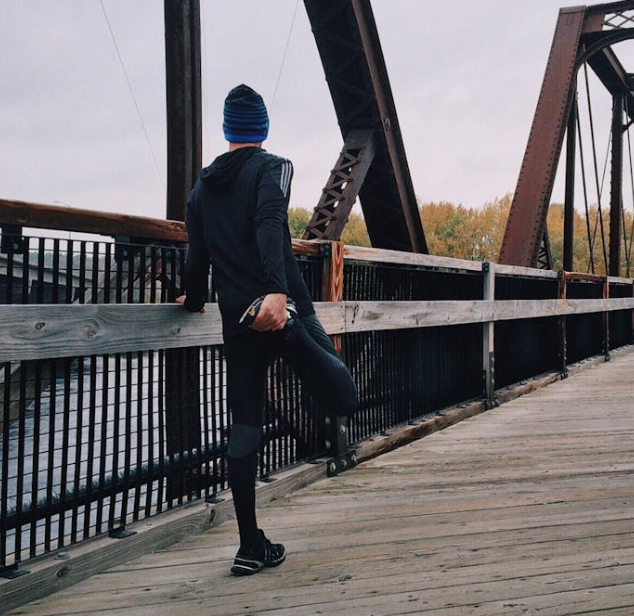
1. 규칙적인 운동 습관 30대에는 건강한 신체를 유지하기 위해 규칙적인 운동 습관을 가지는 것이 중요합니다. 유산소 운동과 근력 운동을 균형 있게 포함하여 신체의 강도와 유연성을 유지하고 심혈관 건강을 증진시킵니다. 운동을 통해 스트레스를 해소하고 에너지를 충전할 수도 있습니다. 2. 균형잡힌 식습관 건강한 식습관은 건강한 라이프스타일의 핵심입니다. 신선한 과일과 채소, 고기와 양념이 잘 조화된 식단을 유지하고, 식사를 […]
계속 읽기